Getting Your UV Curing Right for Textile Printing
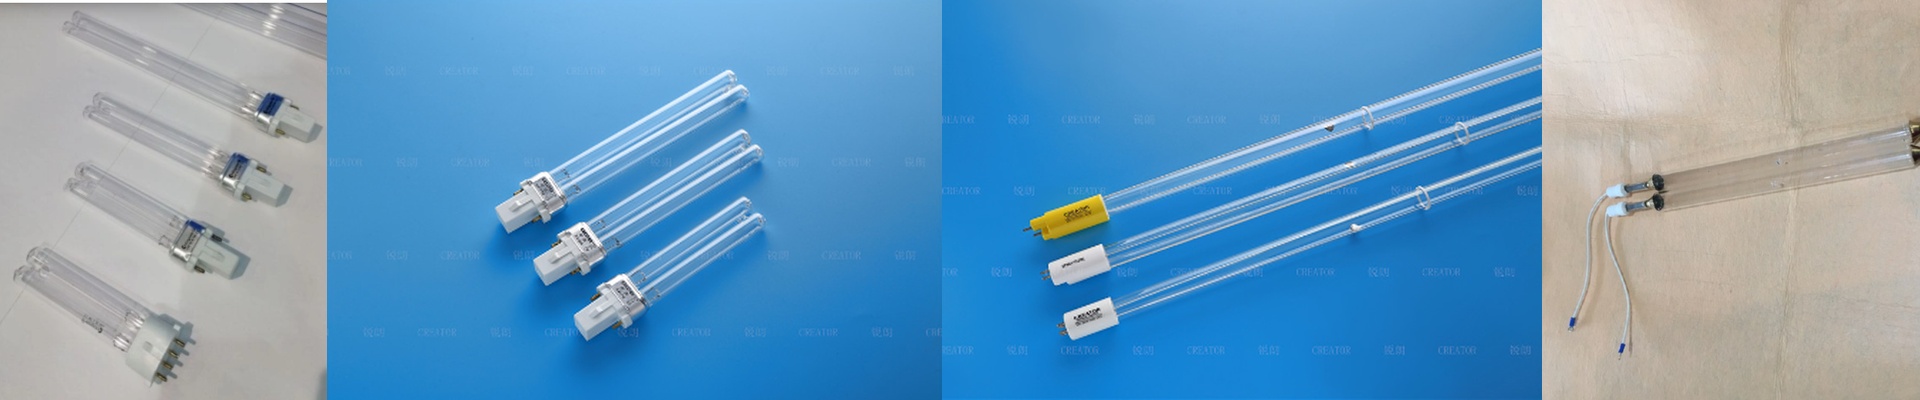
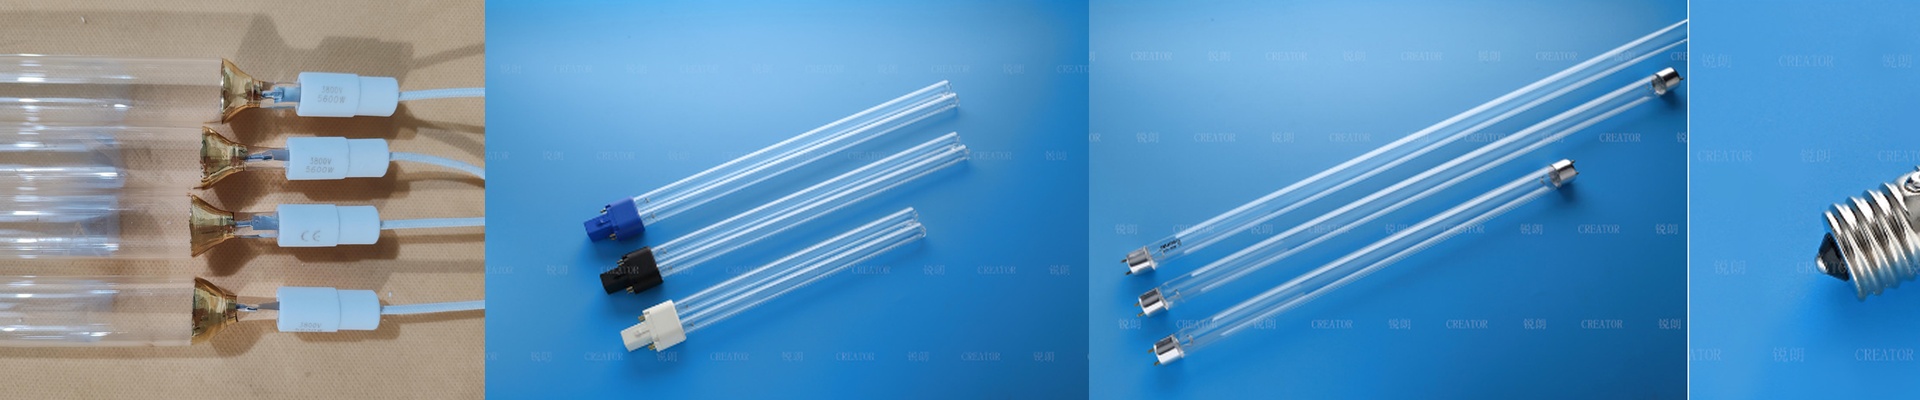
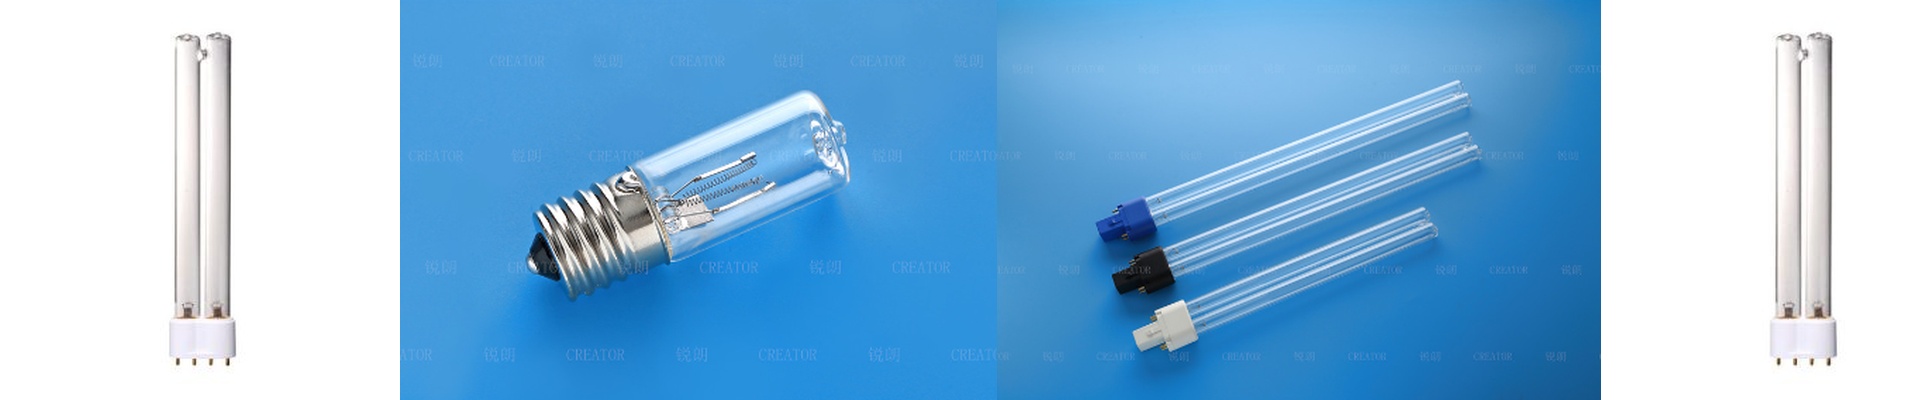
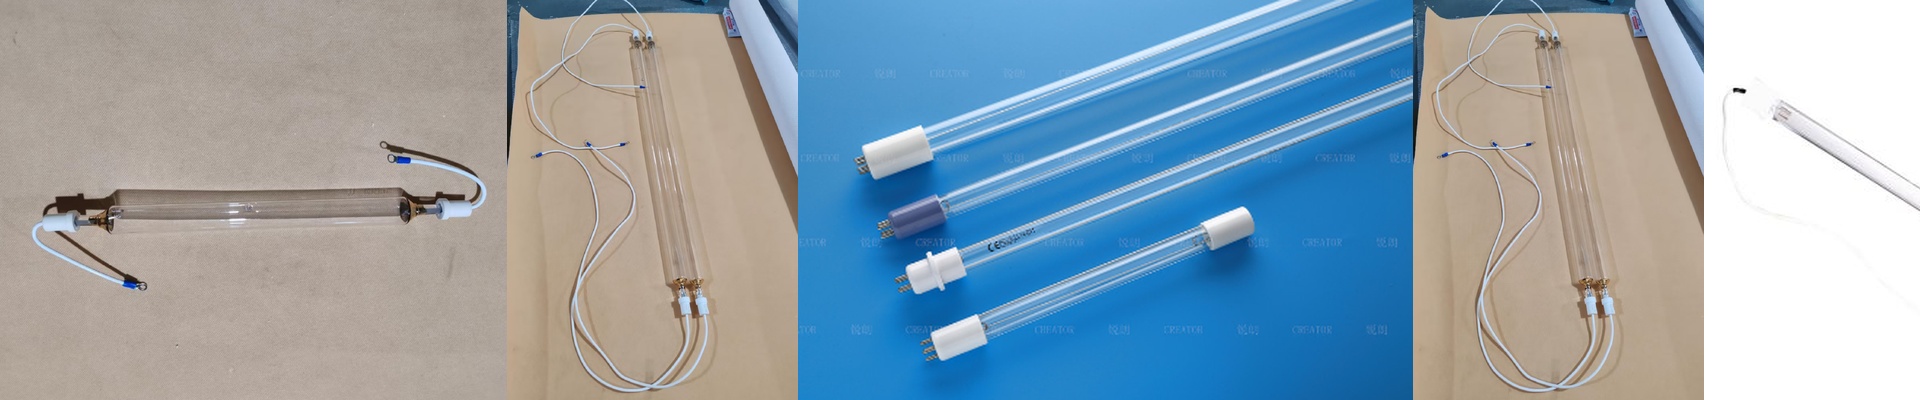
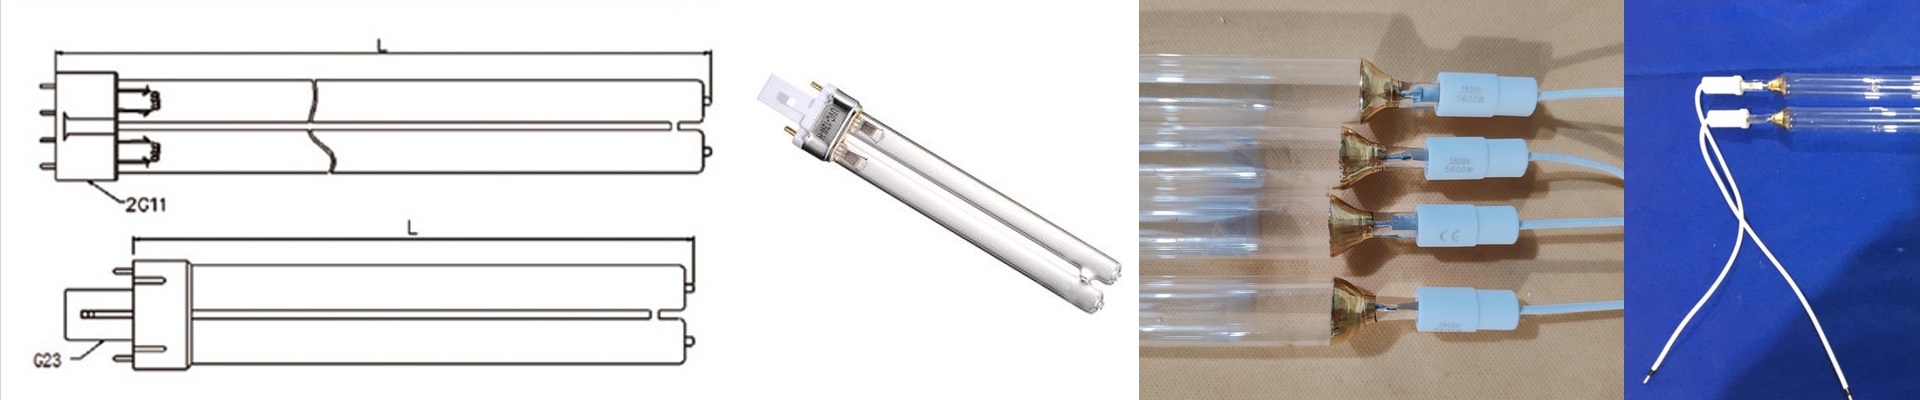
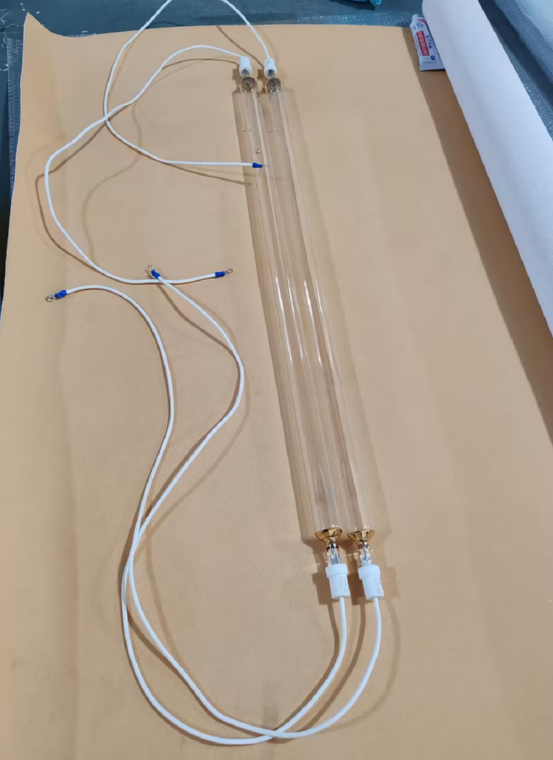
Think of your UV curing lamps as more than just lights. They’re actually the final handshake in the chemical process. When you’re cranking out high volumes, these lamps are what lock the ink into the fabric. Do it right, and you get a crisp print. Do it wrong, and you’re dealing with smudges and bleeding that ruin a whole batch. Finding the Sweet Spot with Power and Wavelength Getting a clean cure on fabric is a bit of a balancing act. We lean on the UV-C and UV-V bands to make sure the ink actually sinks into the fibers rather than just sitting on top. Here’s the thing: if your wattage is too low, the fabric stays tacky to the touch. But if you push it too hard? You risk scorching the material or turning your bright white fabrics a nasty shade of yellow. That’s why we make sure our wholesale lamps hit the same intensity across the entire width of your conveyor. No dead spots. The Hardware Side of Things These lamps get hot. Like, really hot. To handle that, we use high-purity quartz glass. It lets the UV light through while surviving the shock of being turned on and off quickly. Most of our units are designed to just slide right into your existing industrial frames. But a quick heads-up: check your ballast. If the lamp’s voltage and your power supply aren’t on the same page, the ends of the lamps will burn out way faster than they should. The Trade-off: Speed vs. Heat You want a faster line, so you go for higher intensity. Makes sense, right? But there’s a catch. More power means more heat. If your cooling fans and exhaust aren’t up to the task, the air around the machine starts to bake. This can actually mess with the viscosity of your ink before it even reaches the lamps. Keep an eye on those temperatures. It’s a simple check, but it’s the best way to stop your filaments from failing prematurely.